



















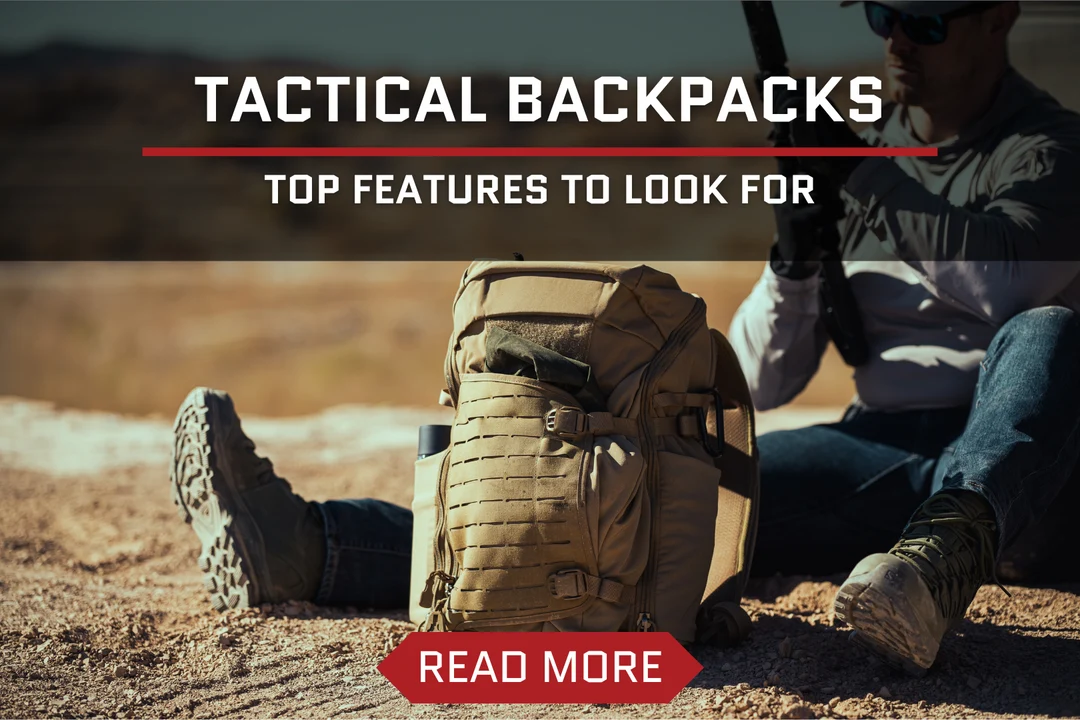
Carrying heavy mission gear over miles of uneven terrain demands strategic packing. A poorly balanced tactical pack causes early muscle fatigue, noise discipline failures, and slow access to critical survival items. Mastering modular pouch placement, center-of-gravity balance, and rugged fabric selection ensures your gear stays protected, silent, and accessible in deep woods.
1. Modular MOLLE Hierarchy: Packing by Urgency
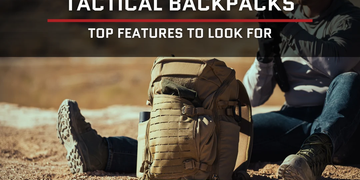
The PALS/MOLLE webbing on tactical packs is designed to prioritize gear access based on response time:
- Tier 1 — Immediate Emergency (Exterior PALS Webbing):
- Mount your Individual First Aid Kit (IFAK) and tourniquets on the outside front or lower flank where either hand can reach it instantly without unbuckling the main pack.
- Attach small utility pouches for high-frequency tools: multi-tool, headlamp with red lens, and radio/GPS communicator.
- Tier 2 — Field Accessibility (Top Lid & Side Pockets):
- Keep your spotting optics, wind meter, extra magazines/ammo, and hydration bladders in side pouches or top organizer pockets.
- Tier 3 — Base Camp & Sustenance (Main Internal Cavity):
- Store sleeping gear, cooking stoves, backup clothing, and multi-day food rations inside the central compartment. These items are only needed once you establish camp.
2. Center-of-Gravity Weight Distribution
Proper mass distribution transfers weight to your hips rather than pulling backward against your shoulders and lumbar spine:
+--------------------------------------------------+
| TOP: Light / Quick Access (Optics, Gloves, Rain) |
+--------------------------------------------------+
| BACK (Closest to Spine): HEAVIEST GEAR           |
| -> Ammunition, Water Bladder, Batteries, Rig     |
+--------------------------------------------------+
| FRONT (Outer Shell): Medium / Bulk Items         |
| -> Camo Netting, Food Rations, Cooking Kit       |
+--------------------------------------------------+
| BOTTOM: Bulky / Low-Density                      |
| -> Sleeping Bag, Base Layers, Bivy Shelter       |
+--------------------------------------------------+
- Heaviest Items (Ammo, Hydration, Power Banks): Pack these against the back panel directly between your shoulder blades and lumbar area. Placing dense weight high and close to your spine keeps your center of gravity natural.
- Bottom Compartment (Sleeping Bag, Spare Layers): Use the bottom cavity for light, shock-absorbing bulk. This creates a stable base and prevents the pack from sagging.
- Rifle Integration: If your pack features a center scabbard or side rifle retention straps, secure the rifle with barrel up and ensure the action sits close to the back harness to eliminate lateral sway while hiking.
3. Materials and Weatherproofing: Protecting Sensitive Gear
Extended backcountry conditions expose electronics and field gear to rain, abrasion, and mud:
- Fabric Durability (500D vs. 1000D Cordura Nylon):
- 500D Cordura: The optimal balance for extended treks. It offers high tensile strength and puncture resistance while cutting overall pack weight by roughly 30% compared to heavier weaves.
- 1000D Cordura: Best suited for high-abrasion reinforced zones, such as the pack base and external rifle scabbards.
- Sealed Closures: Look for YKK AquaGuard or polyurethane-coated reversed coil zippers to prevent rain penetration along seam lines.
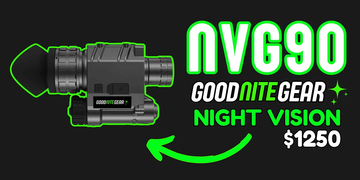
- Electronic Isolation: Store thermal optics, night vision units, and backup battery banks inside IP67-rated waterproof dry sacks or padded inserts with internal silica gel packets to prevent moisture condensation.
Following a structured packing hierarchy and stabilizing heavy hardware close to your spine keeps your load secure, silent, and ready for long-range movements.